Event Settings
Capturing of event information, and configuration of the operational requirements.
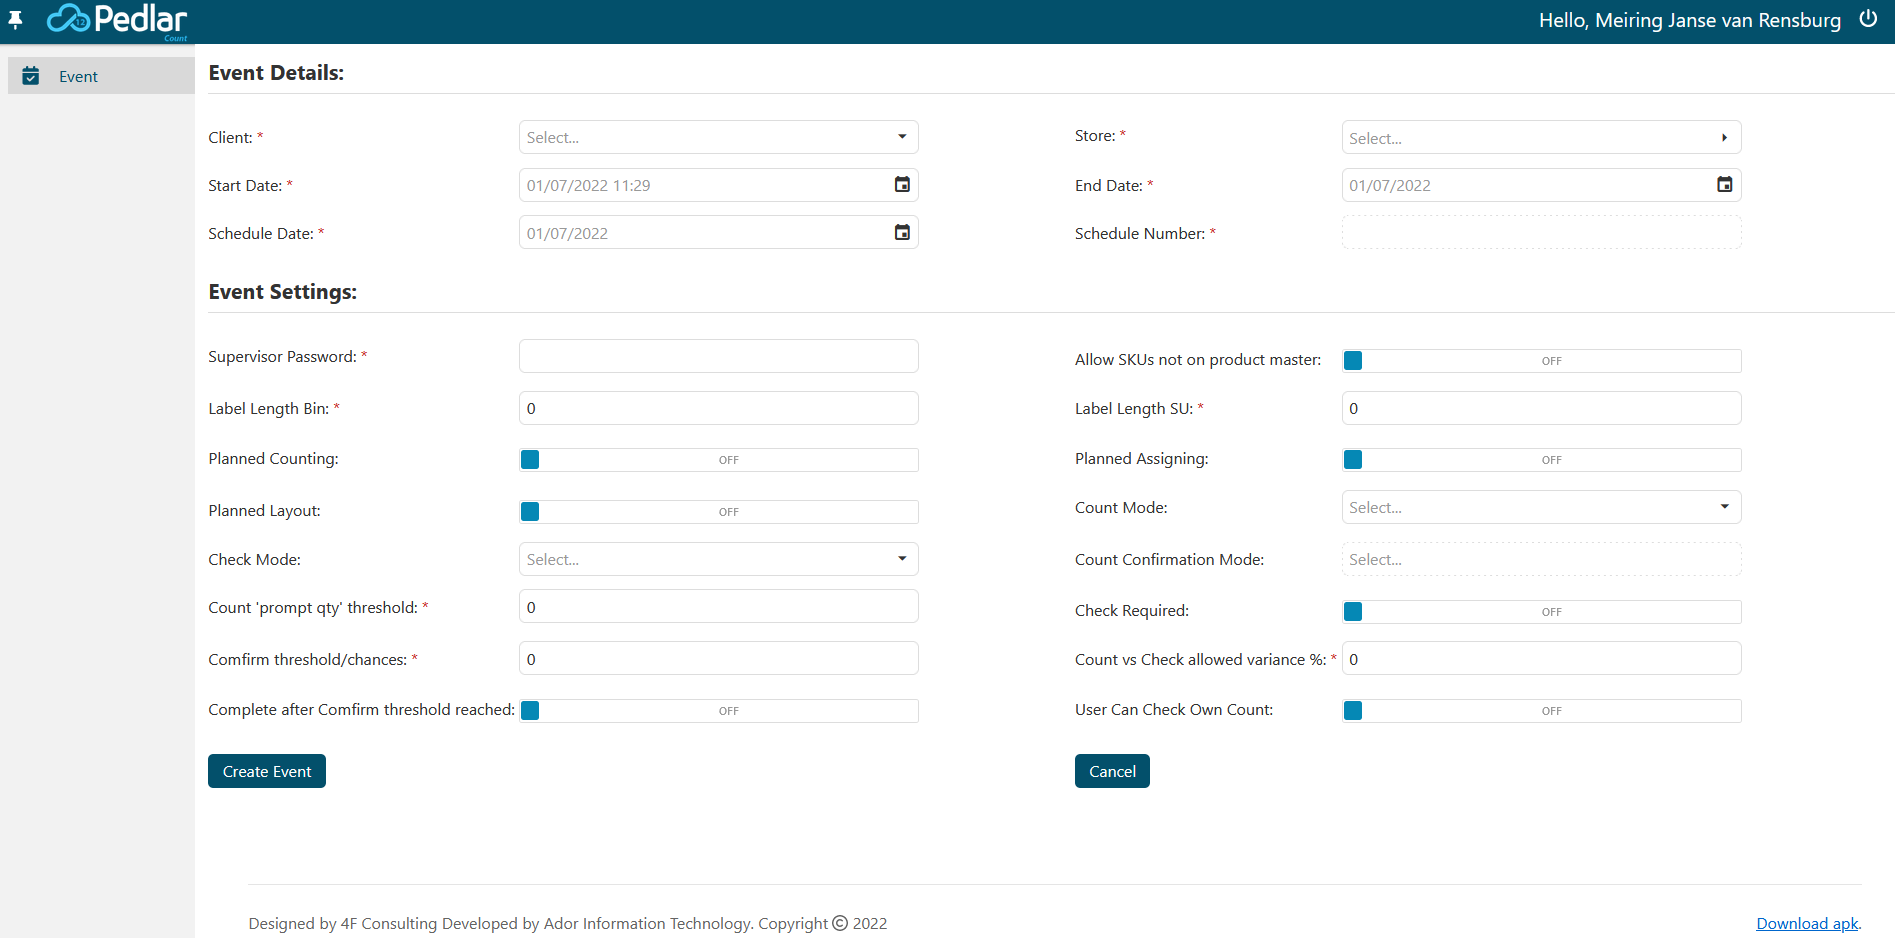
Event Details
- Client: Select the applicable client.
- Store: Select the applicable store.
- Start Date: Select the event start date.
- End Date: Select the event end date.
- Schedule Date: Select the schedule date.
- Schedule Number: Enter the applicable schedule number.
Required fields are indicated with a red asterix.
Event Settings
- Supervisor Password: The password to be used for supervisor functions on the scanners.
- Allow SKUs not on product master:
"OFF" : Allow only barcodes on the product master.
"ON" : Allow any barcodes.
- Label Length Bin: See scanner entities.
- Label Length SU: See scanner entities.
- Planned Counting:
"OFF" : System user decide when and where to count.
"ON" : Pedlar iCount managed when and where to count based on Job Settings.
- Planned Assigning:
"OFF" : System user manually assigns count and checkjobs.
"ON" : Pedlar iCount automatically assign count and check jobs.
- Planned Layout:
"OFF" : Bin's and SU's generated on the go.
"ON" : Bin's and SU's generated before count and check may start.
- Count Mode:
Mode 1(Increment qty in location).
Mode 2 (Prompt for qty).
Mode 3 (Prompt for percentage).
Mode 4 (Prompt for fraction).
- Check Mode:
Mode 2 (Prompt for qty).
Mode 4 (Prompt for fraction).
- Count Confirmation Mode:
Mode 1 (No review).
- Count 'prompt qty' threshold: Set waring if qty captured exceeds this value.
- Check Required:
"OFF" : Only count required.
"ON" : Count and check required.
- Comfirm threshold/chances: Number of times a SU may be counted and cheked.
- Count vs Check allowed variance %: Percentage unit variance allowed between count and check.
- Complete after Comfirm threshold reached:
"ON" : Complete SU with last count qty.
- User Can Check Own Count:
"OFF" : Do not allow the same user to count and check a SU.
"ON" : Allow the same user to count and check a SU.
Required fields are indicated with a red asterix.
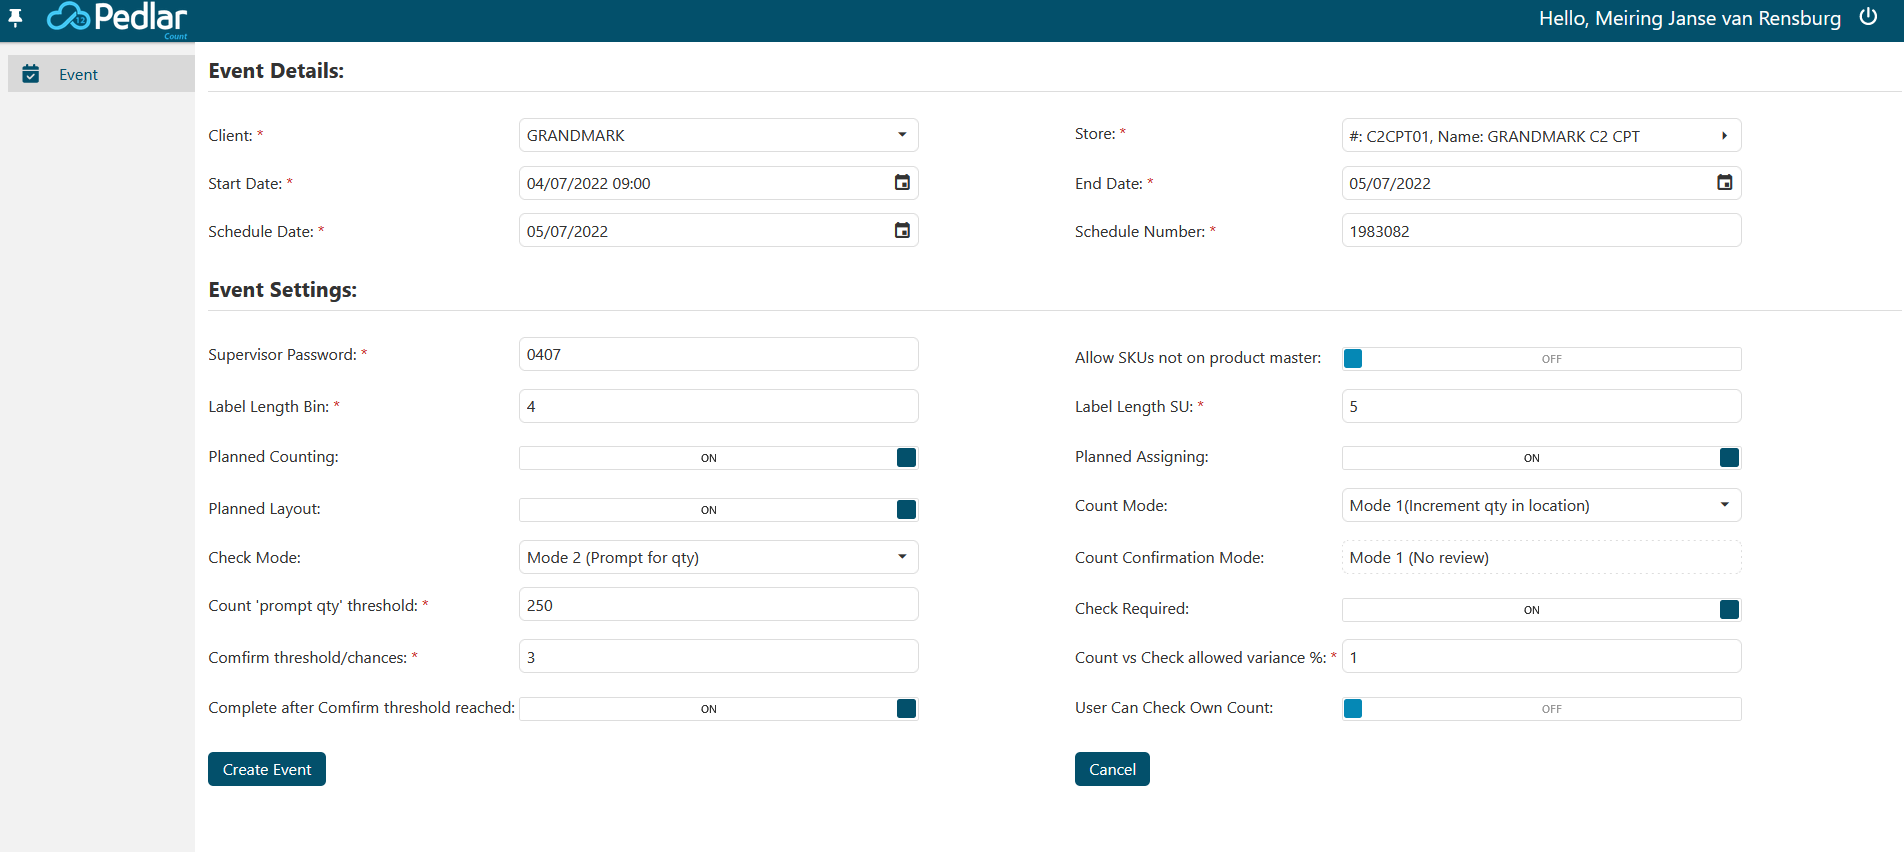
On completion of event details and event settings, proceed by pressing the "Create Event" button.